New Revision
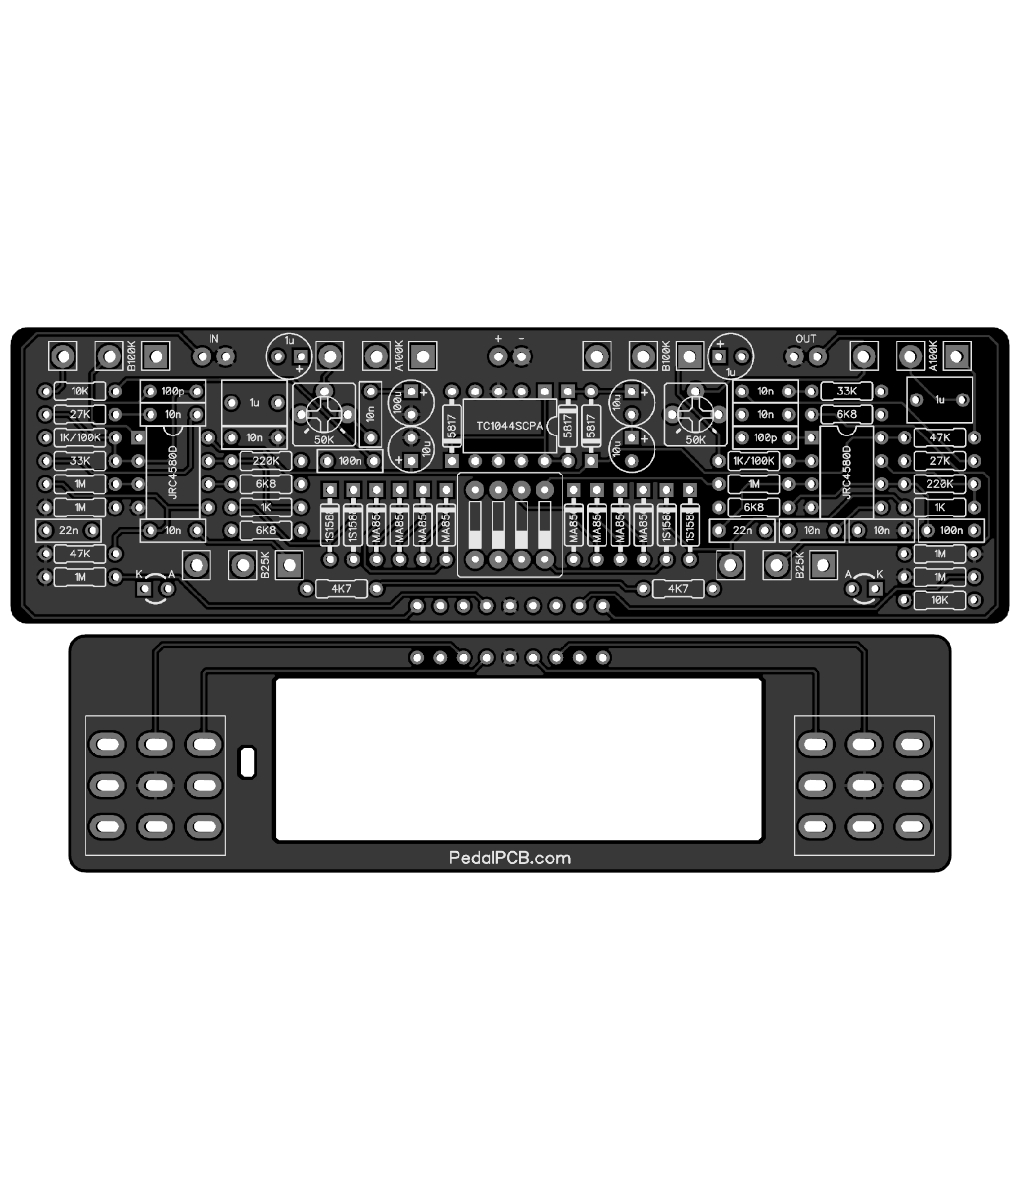
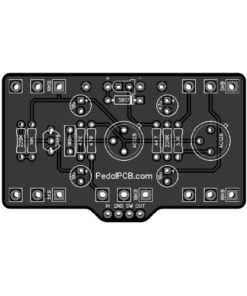
New split PCB design allows for easy fit into 1590BB enclosure.
Controls (each side)
- Volume – Controls the output volume
- Tone – Controls the tone
- Drive – Controls the amount of drive
- Treble (Internal trimpot) – Adjusts the amount of treble content
- DIP1 (Internal dipswitch) – Enable/disable soft clipping (overdrive)
- DIP2 (Internal dipswitch) – Enable/disable hard clipping (distortion)
Specifications
- Designed for a 1590BB enclosure with top-mounted jacks
- PCB mounted potentiometers and footswitches for easy assembly
- Onboard charge pump for 18V operation from standard 9VDC power supply or battery
- Integrated 9V battery holder


| Weight | .8 oz |
|---|---|
| Dimensions | 4.3 × 2.125 × 0.5 in |
7 reviews for Paragon
Only logged in customers who have purchased this product may leave a review.
Related products

Out of stock
OD / Distortion / Fuzz
$8.00
Compare to Lumpy's Tone Shop Lemon Drop / ZII / Series 7
calebviss (verified owner) –
What can I say? With the right diodes this thing brings out the best of my dual-amp setup! I use the pauper to drive it…dude. Customer service is amazing, quick responses and always willing to help!
JMT (verified owner) –
Great quality, fast shipping. The result is really good … here is a comparison video with the original KOT : https://youtu.be/9IC_GgEz2Ac
simonroy.funnell (verified owner) –
It is a great light to medium OD. Sounds fantastic stacked with other pedals. I cannot speak to whether it sounds exactly like the original as I have never played one, but it sounds good. It cleans up nicely, and can get a wide range of tones form a clean boost to a thick OD. This my favourite OD build so far, but I am a sucker for dual OD pedals. It might be an idea to have a 9v to 18v switch so that it is easy to toggle between.
the ONLY complaint I have is I purchased right angle potentiometers for the build. When I went to install the board I noticed that the potentiometers leads were not long enough to lay the board flat on the footswitches. Though I was able to make it work with the pots, the board ended up angled so that it could fit onto the footswitches.
dorrisant (verified owner) –
The reviews I got from this one were all stellar. Seems to be identical to what it is supposed to be (with all of the right parts). Plan to build two if you build one… Someone will find a way to talk you out of it.
christopher_s_morgan (verified owner) –
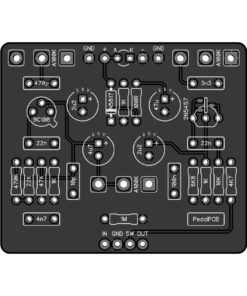
Love it! A K.O.T without the two to three year wait at a fraction of the price. Don’t get cheap on the components, pay the extra and find new-vintage stock for the diodes. Pay close attention to some googled images of the inside of the real deal and mimic it. You will not be disappointed. Really makes a strat sing! Not as in love with it when used with a PRS but then again, I have some pretty hot custom handwound pickups in it so…yeah. What a great build this turned out to be. Pay close attention to the listed values of the components and do NOT build off the values printed on the board. Some of them are wrong compared to the chart.
Kev Thomas (verified owner) –
A straightforward build with no dramas, that produced a great sounding pedal.
I bought three boards, and was lucky enough to source enough 1s1588’s and single stripe MA856’s at a reasonable price to build them to near original spec
Tip – use sockets for the money diode spaces and for R3 and R17. Doing it this way gives you options galore.
I’ve already built one unit with the 1588 and 856 combo and the 100k option at R3., with switches 1 & 3 of the internal dips set to “On”.
It sounds absolutely sweet! You’ll need to adjust the trum pots to find the good spot, and It will squeal a bit when both sides are engaged and have their pots @ max, but this is normal.
giovanni (verified owner) –
This is an excellent pedal. I haven’t played the original but from the demos I watched, my build sounds very close, and I used modern diodes. This is not the most trivial build as there are a few things to keep in mind: you won’t be able to use metal bezels for the LEDs, unless you move them from where they are on the layout, since they are too close to the pots. It took me a couple days of troubleshooting to figure this out and then I replaced the metal bezels with plastic and all was good. The other thing to keep in mind is how to install the switch board with the pin header. I mounted the headers on the main board first, then positioned and soldered the pots, then moved on with the smaller board so that I could fit it on top of the headers and foot switches. That’s the easiest way to get the connection height right.